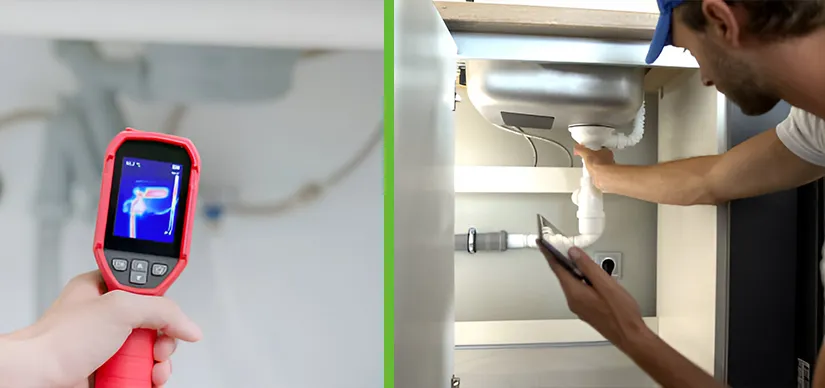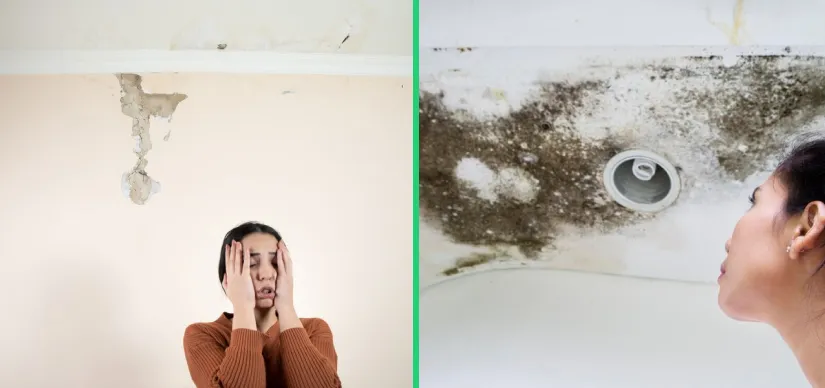

A toilet leak might not seem like a plumbing emergency, but a continuous trickle from your toilet tank to the bowl can waste over 200 gallons of water per day. Over a month, that "minor" leak can silently drive your utility bill up by hundreds of dollars. Furthermore, if the leak is external—dripping from the tank onto the floor—it can cause severe water damage, rotting the subfloor and creating a breeding ground for mold.
At EZ Leak Detection, our technicians respond to toilet leak calls across San Diego, Orange County, and Riverside every day. The good news is that diagnosing and repairing a slow water leak from a toilet tank is often a manageable DIY project. In this comprehensive guide, we explain how the internal mechanisms of a toilet work, how to definitively diagnose a leak, and the step-by-step process to fix the three most common causes of tank leaks.
Understanding How Your Toilet Tank Works
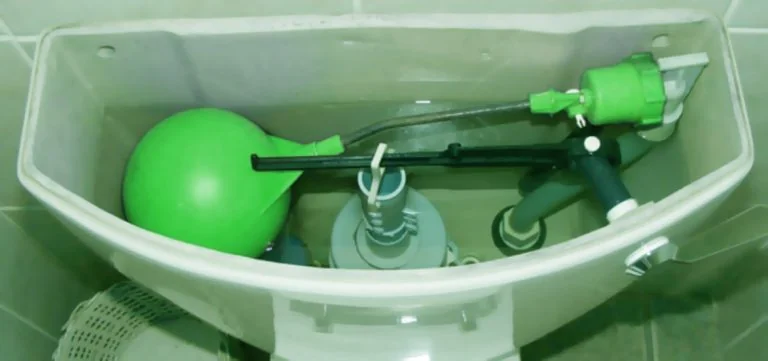
Before you start replacing parts, it is helpful to understand the basic mechanics of a gravity-flush toilet. The tank acts as a reservoir, holding water ready for the next flush. When you press the handle:
- The handle lifts a chain connected to the flapper (a rubber seal at the bottom of the tank).
- The lifted flapper exposes the flush valve, allowing the stored water to rush into the toilet bowl, creating the siphon action that clears the waste.
- As the water level in the tank drops, the flapper falls back into place, sealing the flush valve.
- The drop in water level triggers the fill valve (or ballcock). A float connected to this valve drops, opening the valve and allowing fresh water to refill the tank.
- Once the water reaches the designated level, the float rises, shutting off the fill valve. An overflow tube prevents the tank from flooding if the fill valve fails to shut off.
A leak occurs when this sequence fails—either water escapes the tank prematurely, or the fill valve fails to stop the incoming water.
How to Test for a Slow Toilet Tank Leak
An external leak (water pooling on the floor) is obvious. However, an internal leak (water escaping from the tank into the bowl) is often silent and invisible. Here is how to confirm an internal leak:
The Dye Test
This simple, foolproof test confirms if water is seeping from the tank into the bowl.
- Remove the toilet tank lid and set it aside carefully (it is heavy and fragile).
- Wait until the toilet has fully finished a fill cycle.
- Drop a dye tablet or 10-15 drops of dark food coloring (blue or red works best) into the tank water. Do not flush.
- Wait 15 to 20 minutes.
- Check the toilet bowl. If the water in the bowl has changed color, you have a slow leak from the tank into the bowl.
Repairing the Most Common Toilet Tank Leaks
If the dye test is positive, or if you hear the toilet spontaneously refilling (often called "phantom flushing"), the issue is internal. If water is dripping onto the floor, the issue is external. Here is how to fix both.
Fix 1: Replacing a Warped or Degraded Flapper (Internal Leak)
The rubber flapper is the most common cause of an internal leak. Over time, exposure to chlorine, hard water minerals, and continuous submersion causes the rubber to warp, harden, or blister, breaking the watertight seal over the flush valve.
- Step 1: Shut off the water supply valve located on the wall behind the toilet. Flush the toilet and hold the handle down to drain the tank completely.
- Step 2: Unclip the flapper chain from the flush handle arm.
- Step 3: Slide the old flapper off the two pegs on the side of the overflow tube. (Take the old flapper to the hardware store to ensure you buy an exact match, usually a 2-inch or 3-inch model).
- Step 4: Install the new flapper by sliding its ears onto the pegs. Reattach the chain to the handle arm, leaving a tiny bit of slack (about 1/2 inch) so the flapper can seat completely.
- Step 5: Turn the water back on and perform the dye test again to confirm the leak is fixed.
Fix 2: Adjusting or Replacing the Fill Valve (Internal Leak)
If the water level in the tank is too high, it will continuously spill into the open overflow tube, running straight down into the bowl. This wastes water constantly and causes the fill valve to run non-stop.
- Step 1: Remove the tank lid and observe the water level. It should stop about 1 inch below the top of the open overflow tube.
- Step 2: If the water is spilling into the tube, lower the float level. On modern fill valves, turn the adjustment screw counterclockwise with a screwdriver. On older ballcock models, gently bend the brass float arm downward.
- Step 3: Flush the toilet and observe the refill. If the water still does not shut off at the correct level, the internal seals of the fill valve have failed.
- Step 4: To replace the valve, shut off the water, drain the tank, and use an adjustable wrench to unscrew the water supply line from the bottom of the tank. Remove the retaining nut holding the old fill valve, pull it out, and install a universal replacement valve following the manufacturer's instructions.
Fix 3: Replacing the Tank-to-Bowl Gasket (External Leak)
If water leaks onto the floor right when you flush, the large rubber gasket sandwiched between the tank and the bowl has degraded. This repair requires removing the entire tank.
- Step 1: Shut off the water and completely drain the tank. Use a sponge to remove the last bit of residual water.
- Step 2: Disconnect the water supply line from the bottom of the tank.
- Step 3: Use a wrench to loosen and remove the two or three tank bolts securing the tank to the bowl. Carefully lift the tank off the bowl and lay it on its side on a towel.
- Step 4: Pull the old, degraded gasket off the bottom of the flush valve. While the tank is off, it is highly recommended to replace the rubber washers on the tank bolts as well.
- Step 5: Press the new tank-to-bowl gasket (often called a spud washer) onto the bottom of the flush valve. Carefully reposition the tank onto the bowl.
- Step 6: Tighten the tank bolts evenly, alternating sides. Caution: Do not overtighten, or you will crack the porcelain tank. Tighten just until the tank is snug and doesn't rock. Reconnect the supply line and turn the water on.
Frequently Asked Questions
Why does my toilet randomly refill for a few seconds when no one has used it?
This is commonly known as "phantom flushing." It is a sure sign of a slow internal leak. Water is slowly seeping past a faulty flapper into the bowl. When the water level in the tank drops low enough, the fill valve triggers automatically to refill the lost water. Replacing the flapper almost always solves this.
Can I just put a brick in my tank to save water?
No, you should never place a standard brick in a toilet tank. Bricks disintegrate over time, and the grit will get caught in the flush valve and flapper, destroying the seals and causing massive leaks. If you want to displace water to save on flushing, use a sealed plastic bottle filled with water or sand.
How tight should I make the bolts when reattaching the toilet tank?
Tank bolts should be tightened alternately (a few turns on the left, a few on the right) to ensure the tank seats evenly on the gasket. Tighten them just enough so that the tank feels secure and does not rock when pushed gently. Overtightening will snap the porcelain, ruining the entire toilet.
What causes a toilet flapper to fail?
Flappers are made of rubber, which degrades naturally over time. However, their lifespan is drastically shortened by heavy chlorination in municipal water, hard water mineral scale, and especially the use of drop-in bleach tablets in the tank. Those chemical tablets dissolve the rubber seals very quickly.
When should I just replace the whole toilet instead of fixing it?
If your toilet requires frequent repairs, is older than 20 years (meaning it likely uses 3.5 to 5 gallons per flush), or has a crack anywhere in the porcelain bowl or tank, it is time for a replacement. Modern high-efficiency toilets use only 1.28 gallons per flush and will pay for themselves in water savings.
Conclusion
Ignoring a slow toilet leak is a costly mistake. By understanding the simple mechanics of your toilet tank, performing the dye test, and replacing inexpensive parts like the flapper or fill valve, you can stop water waste and lower your monthly bills. If the repair involves the tank-to-bowl gasket, proceed carefully to avoid cracking the porcelain.
Need Professional Plumbing Help? Call EZ Leak Detection
If DIY plumbing isn't your preference, or if your toilet continues to leak despite your best efforts, the licensed professionals at EZ Leak Detection are ready to help. We provide expert plumbing repairs, fixture installations, and comprehensive leak detection services throughout San Diego, Carlsbad, Oceanside, and Orange County.
Don't let a faulty toilet drain your wallet or damage your floors. Contact EZ Leak Detection for fast, reliable service today.
- Call us directly: (760) 392-7616
- Find a leak detection specialist near me on Google Maps
- Learn more about our services at EZ Leak Detection
TESTIMONIALS