


How to Check for Leaks
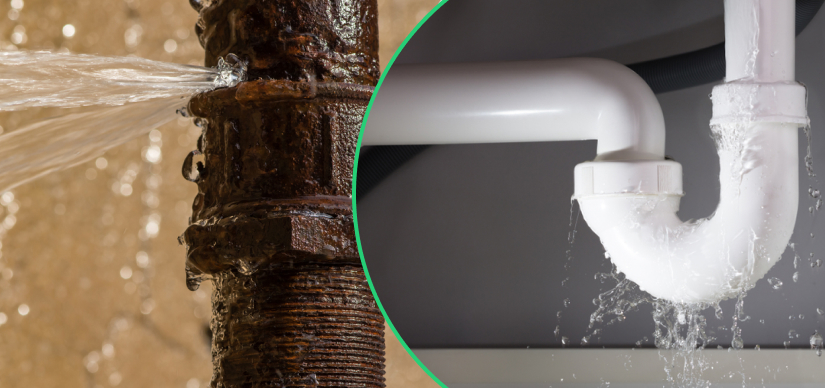
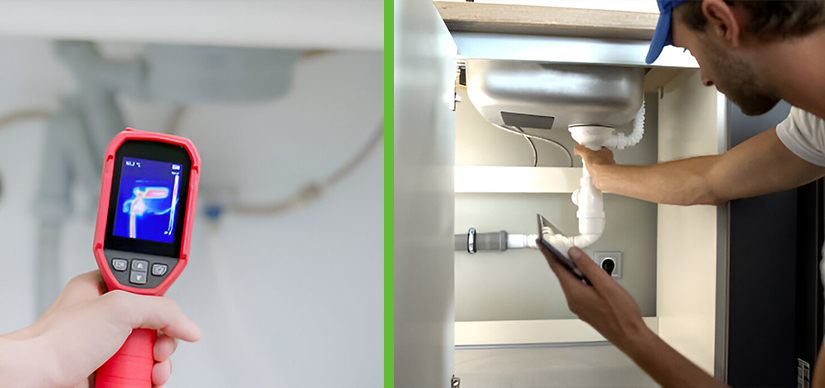
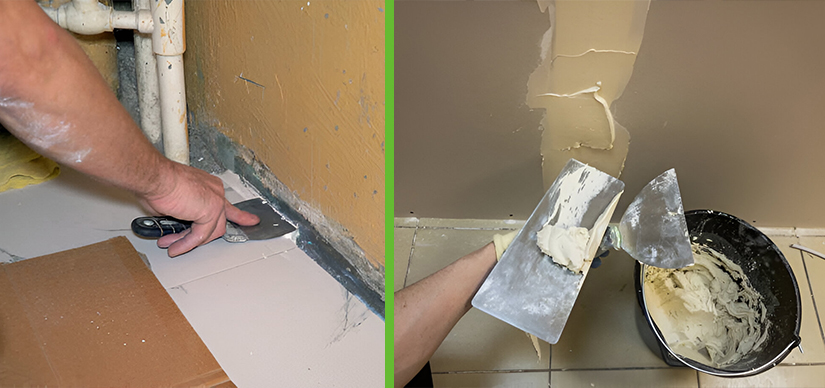
How to Check for Leaks Neglecting to fix leaky pipes, taps, or even leaks in water lines behind or in walls in good time may result in untold damages in the house as well as contribute to higher water bills. Whether it is a much smaller constant drip or a bigger compression problem – one… Continue reading How to Check for Leaks